
 Latest images
DIY - $20 Famicom to NES Adapter
Page 1 of 1
![]()
 DIY - $20 Famicom to NES Adapter
![]() by Irate Drake Wed Aug 13, 2014 1:20 pm
by Irate Drake Wed Aug 13, 2014 1:20 pm
I have been into a japanese game kick here lately. So I bought a lot of famicom games off of ebay. When they came in I was like "They look cool, but I cant play them...". After doing some research, I found that some copies of Hogans Alley, Gyromite released in the US, had adapters in them. So the search continued and I came up empty everytime.
Adapter are made for this process but they usually run $75-100+ and a famicom console cost about the same, so I needed a cheaper solution.
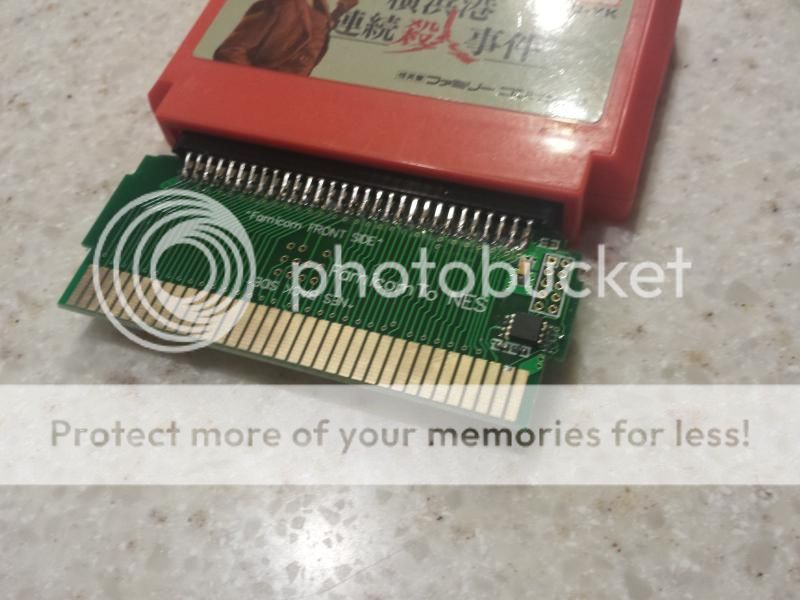
One day while browsing ALIEXPRESS.com, I found that a seller on there had the internal adapters (like the ones in Gyromite) for sell for $20. So I bought one, and this is how I created my Famicom adapter.
Step 1: Famicom Adapter - Link
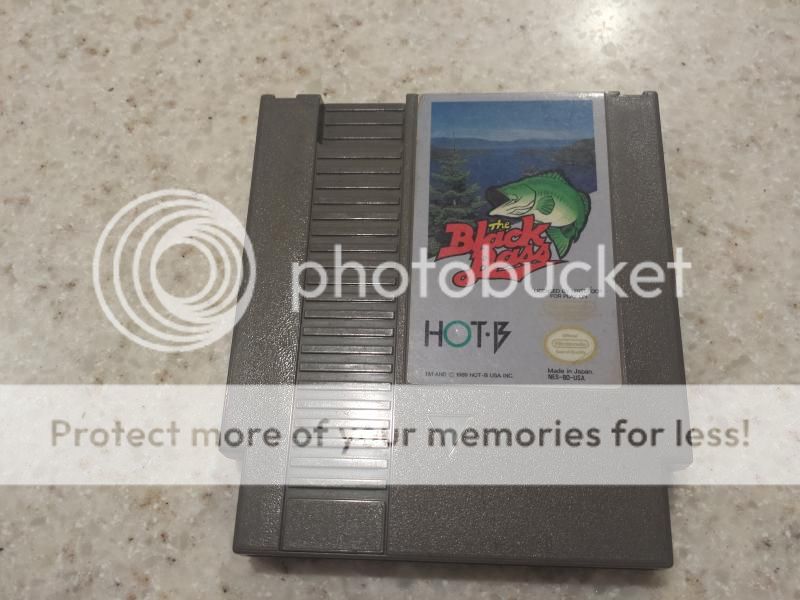
You will also need a donor cart, to rip open and cut. I used Black bass.
Step 2: Test fitting the adapter,
Grab a famicom game and try to connect to adapter. First thing youll notice, is the connection is blocked by the side tabs.
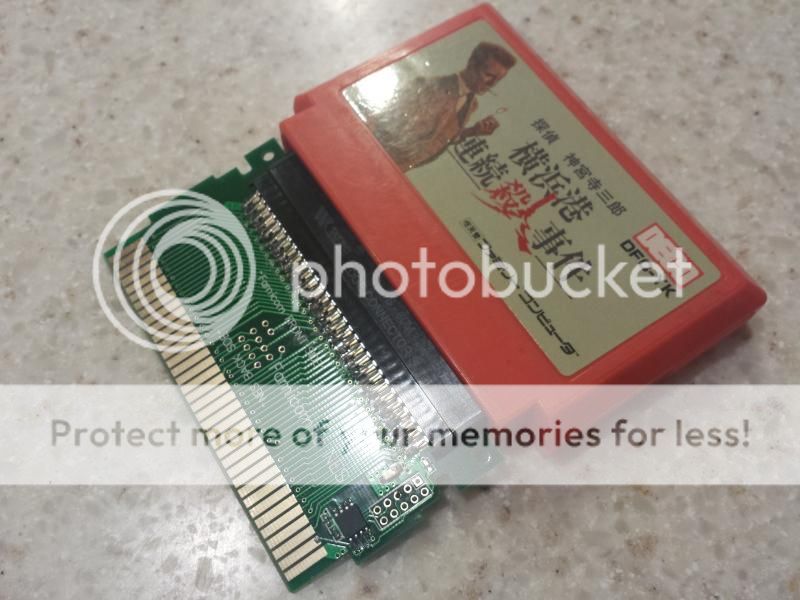
Grab a pair of snips (I used small cutters) and clip them off as pictured below.
Now test fit the cartridge and everything should be just fine.
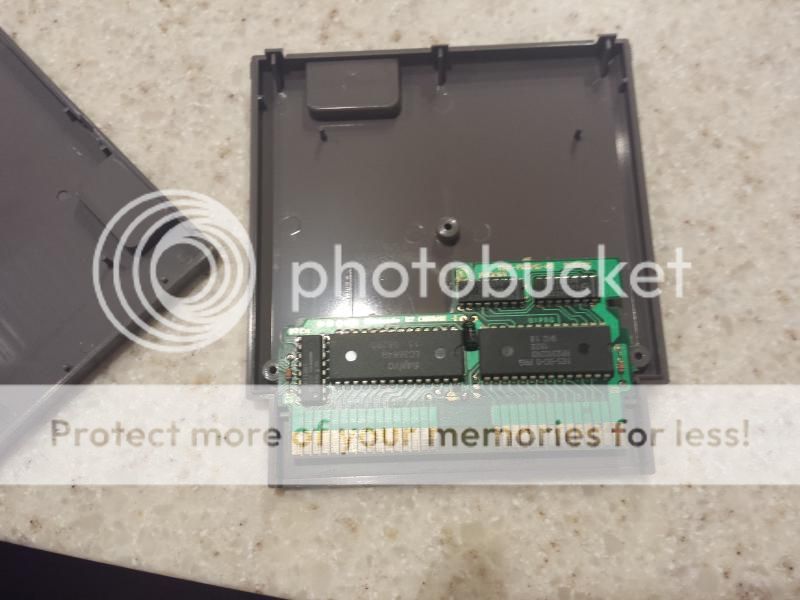
Step 3: Cartridge Time
Now grab your donor cart, open it and take out the ness chip currently there.
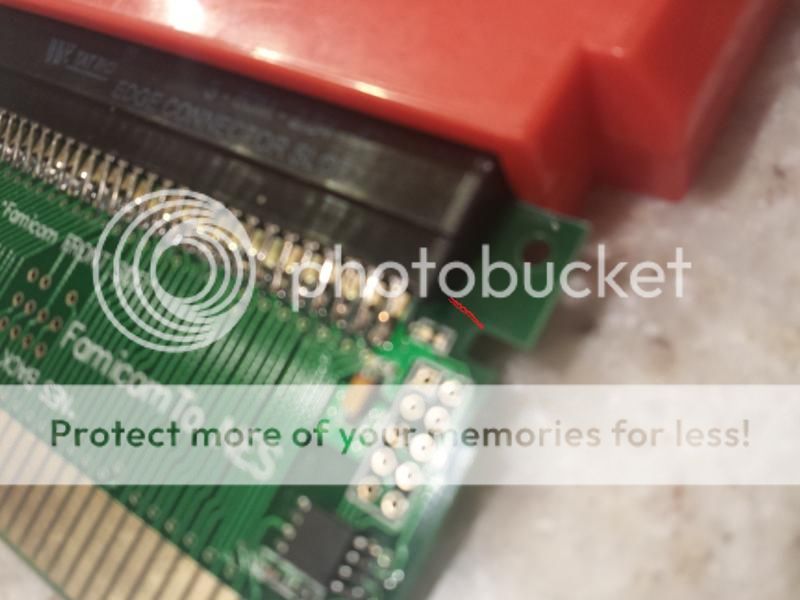
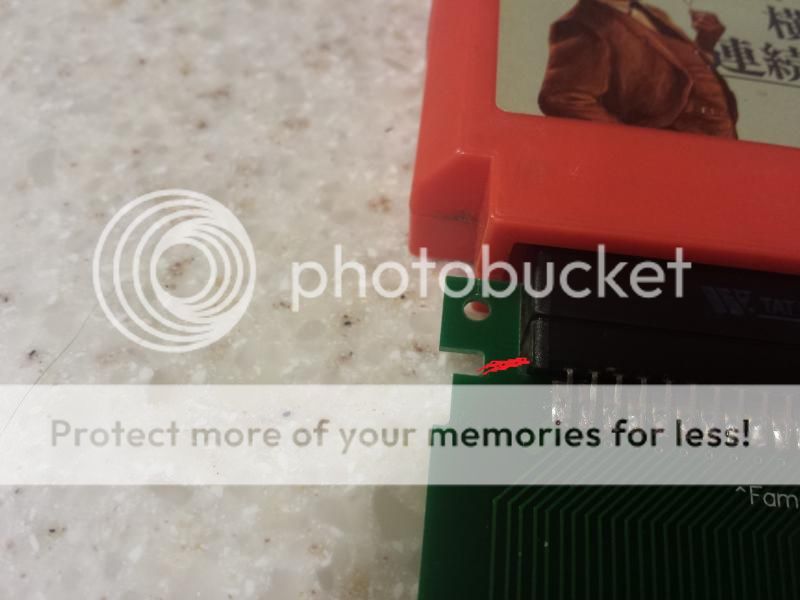
Now put in your adapter and mark the case where it needs to be cut (see the red lines below.
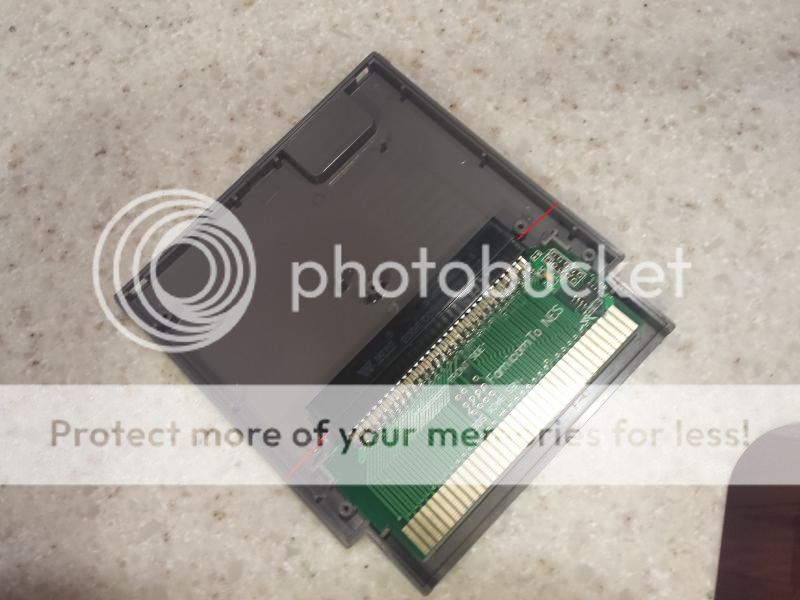
Draw your line (as well as possible) take out adapter and cut the cartridge case. (I used a knife, snips, and some force) a dremel would work better. Once that is done lay on top of other shell half, draw line and cut it also.
Step 4: Reassemble
Last thing left to do is put your adapter back into cart and reassemble. I put a U-shaped handle on mine (that connects to the 2 cartridge assembly screws) so that the cartridge could be easily removed from my NES.
(pics later)
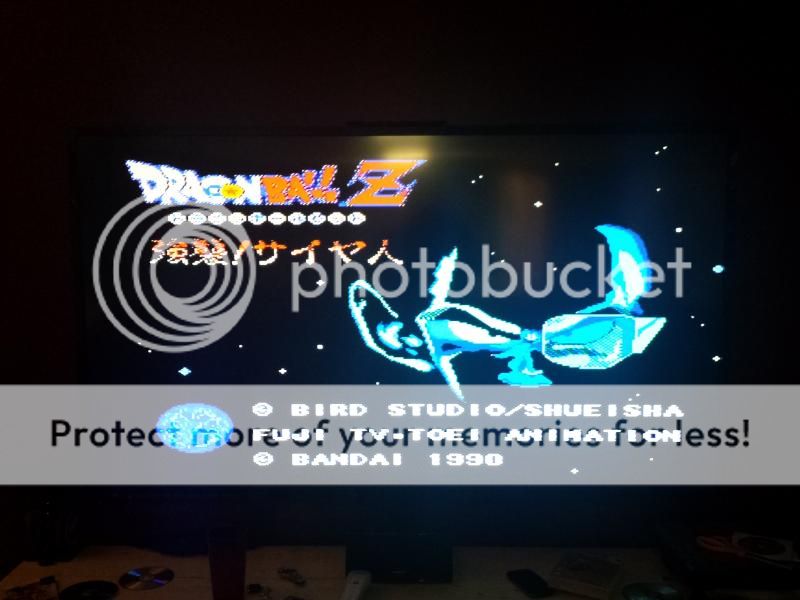
Step 5: Test & Enjoy
Now all thats left is throwing this puppy in your NES and test with some famicom games. Works great!
No need for an additional pricey console or pricey adapter.
Adapter are made for this process but they usually run $75-100+ and a famicom console cost about the same, so I needed a cheaper solution.
One day while browsing ALIEXPRESS.com, I found that a seller on there had the internal adapters (like the ones in Gyromite) for sell for $20. So I bought one, and this is how I created my Famicom adapter.
Step 1: Famicom Adapter - Link
You will also need a donor cart, to rip open and cut. I used Black bass.
Step 2: Test fitting the adapter,
Grab a famicom game and try to connect to adapter. First thing youll notice, is the connection is blocked by the side tabs.

Grab a pair of snips (I used small cutters) and clip them off as pictured below.


Now test fit the cartridge and everything should be just fine.

Step 3: Cartridge Time
Now grab your donor cart, open it and take out the ness chip currently there.


Now put in your adapter and mark the case where it needs to be cut (see the red lines below.

Draw your line (as well as possible) take out adapter and cut the cartridge case. (I used a knife, snips, and some force) a dremel would work better. Once that is done lay on top of other shell half, draw line and cut it also.
Step 4: Reassemble
Last thing left to do is put your adapter back into cart and reassemble. I put a U-shaped handle on mine (that connects to the 2 cartridge assembly screws) so that the cartridge could be easily removed from my NES.
(pics later)
Step 5: Test & Enjoy
Now all thats left is throwing this puppy in your NES and test with some famicom games. Works great!

No need for an additional pricey console or pricey adapter.

Irate Drake- Posts : 46
Join date : 2014-07-15
Age : 38
Location : in the KY -

![]()
![]()
Re: DIY - $20 Famicom to NES Adapter
![]() by Irate Drake Wed Aug 13, 2014 1:21 pm
by Irate Drake Wed Aug 13, 2014 1:21 pm
Ill be adding screenshot of the final product once I get home tonight.
Irate Drake- Posts : 46
Join date : 2014-07-15
Age : 38
Location : in the KY -
![]()
![]()
![]()
Page 1 of 1
Permissions in this forum:
You cannot reply to topics in this forum|
|
|